12 Month Still Life with Cathy Pearce
-
Introduction
Introduction -
Month 1Breaking your pastels in half
-
Mark Making
-
Month 2Dexterity and handling
-
Month 3 - PotteryIntroduction
-
Materials Needed
-
Exercise 1 and 2
-
Exercise 3 and 4
-
Month 4 - FlowersMaterials Needed
-
Exercise 1
-
Exercise 2
-
Exercise 3
-
Month 5 - Painting GlassMaterials Needed
-
Month 6 - ReflectionsIntroduction
-
Guide
-
Demo
-
Month 7 - In The GardenGuidance
-
Video
-
Month 8 - Sketching With Pastels In The GardenVideo and Guidance
-
Month 9 - Choose a Favourite Item to StudyGuidance
-
Video
-
Month 10 - Seasonal dried seed heads and a return to some expressive mark makingGuidance
-
Video
-
Month 11 - Finding an Exciting CompositionGuidance
-
Video
-
Month 12 - Christmas BaublesGuidance
-
Video
Guidance

Here is my favourite item, a little yellow jug made by my husband.
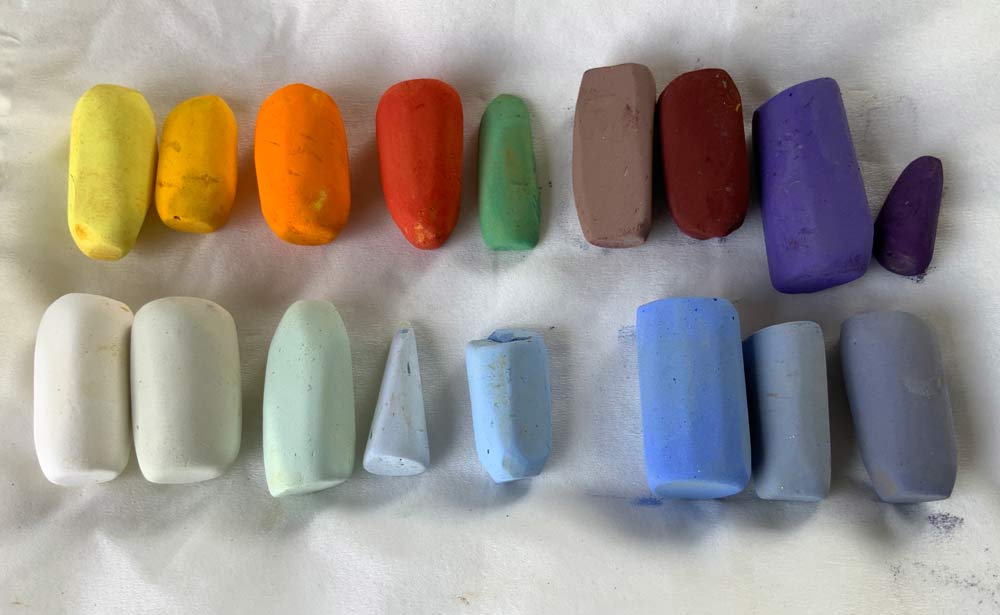
The materials I am using are quite basic and include the Unison Colour pastels as above selected from my usual workshop 36 set and a couple of colours from my bright 8 set.
Cartridge paper at least size A3, I am working larger on Legion Lenox 100.
The idea of this month’s tutorial is to learn how to understand your still life from studying the objects within it and there is no better way to do this than by observing and drawing them from every angle. My introduction video explains why this is important. The remaining videos are there for you to watch how I tackle the challenges of my jug and I have chosen not to give you a voiceover but I have kept the sound on as I love the noise the pastels make on paper!