12 Month Still Life with Cathy Pearce
-
Introduction
Introduction -
Month 1Breaking your pastels in half
-
Mark Making
-
Month 2Dexterity and handling
-
Month 3 - PotteryIntroduction
-
Materials Needed
-
Exercise 1 and 2
-
Exercise 3 and 4
-
Month 4 - FlowersMaterials Needed
-
Exercise 1
-
Exercise 2
-
Exercise 3
-
Month 5 - Painting GlassMaterials Needed
-
Month 6 - ReflectionsIntroduction
-
Guide
-
Demo
-
Month 7 - In The GardenGuidance
-
Video
-
Month 8 - Sketching With Pastels In The GardenVideo and Guidance
-
Month 9 - Choose a Favourite Item to StudyGuidance
-
Video
-
Month 10 - Seasonal dried seed heads and a return to some expressive mark makingGuidance
-
Video
-
Month 11 - Finding an Exciting CompositionGuidance
-
Video
-
Month 12 - Christmas BaublesGuidance
-
Video
Guidance
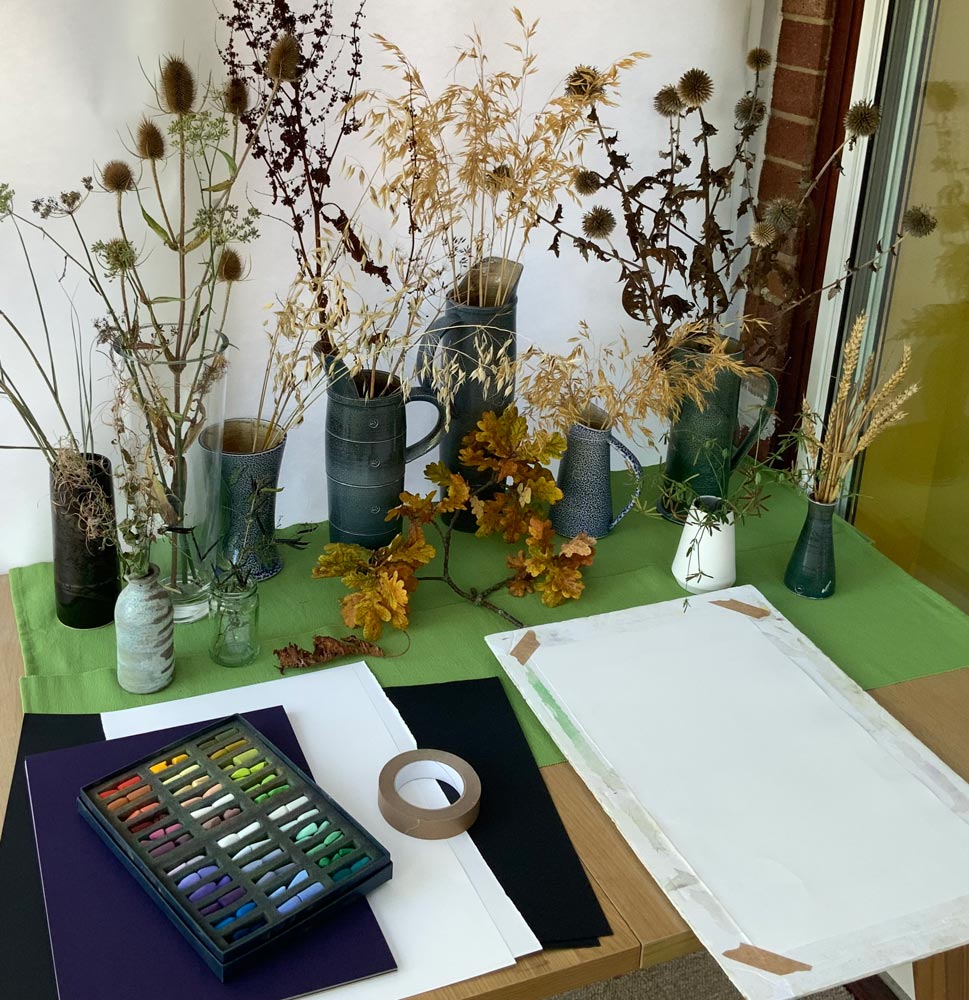
You will need a collection of seed heads, your Unison Colour pastels in suitable colours although it really won’t be a problem if you don’t have exactly the same colours as your seed heads just the closest you have. Some smooth papers to show the pastel marks well. I have used the smooth side of Daler Rowney Murano in white and some black Clairefontaine Maya. Once you have practiced finding beautiful marks and feel confident then you could use come Clairefontaine pastelmat as it holds drawn detail so well. I would, however, avoid highly textured papers as these don’t show off the detail at all well. If you only have textured paper, Ingres or honeycombe then use the smooth side if they have one or work in an A3 sketchbook on cartridge paper.